
Lieut-Gen. Monash’s well planned Australian 4th & 11th Brigade battle at Hamel passed off smoothly, exactly to timetable, and was free of hitches. It was all over in ninety-three minutes, attained all objectives and yielded great results. At the heart of the success was the excellent co-operation between the infantry, machine gunners, artillery, tanks and the Royal Air Force, plus catching the enemy completely by surprise. The operation gave the British possession of the Hamel Valley plus drove the enemy from the adjacent ridge from which the enemy could observe the Australian forces. In excess of 1,500 prisoners were taken, a similar number killed or made casualty, plus two field guns, 26 mortars and 171 machine guns at a cost of 1,400 casualties. The Americans that took part acquitted themselves well and were for ever after received by the Australians as blood brothers. Another success was the use of aeroplanes for the supply of small-arms ammunition to the forward troops, particularly the infantry. During the harassing periods between offensives the practice had been to employ both gas and smoke shells making the enemy think that the smoke would be accompanied by gas therefore donning gas masks and hence hampering his vision, but on the morning of the attack only the smoke shells were fired but it would take time for the enemy to realise and thus significantly impact his ability to resist. Hamel, the first offensive anywhere on the Western Front since Cambrai, became the blueprint for further operations carried out by the Corps, and notably for the great offensive of the 8th August. Many messages of congratulations were received following the Australian success at Hamel (photograph below left of the Hamel Memorial) but none more so than Monsieur Clemenceau, the veteran statesman of France, who arrived and addressed many of the men that had participated in the attack. “When the Australians came to France, the French people expected a 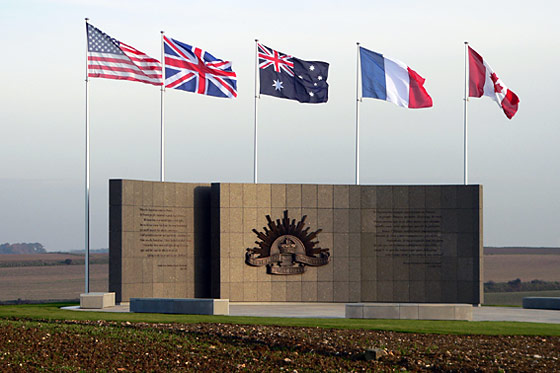 great deal of you… We knew that you would fight a real fight, but we did not know that from the very beginning you would astonish the whole continent… I shall go back tomorrow and say to my countrymen, I have seen the Australians, I have looked in their faces, I know that these men will fight alongside of us again until the cause for which we are all fighting is safe for us and for our children.”
Author: 22ndaif
3rd Jul 1918: Disappointment for Americans as Pershing orders their withdrawal from Hamel attack
Before dawn the front was occupied by most of the troops that were to attack, and the pegs to mark the starting line had been placed. The tanks were in the assembly area in the orchards around Aubigny three miles behind the front line. The troops were told to lie low for the whole day, when an order came through from General Pershing, the American Commander-in-Chief, that six American companies were to be withdrawn, causing concern for the Australians on losing hundreds of men plus having to re-arrange their formations. The disappointment for the Americans though was far greater. At 6pm telegrams reached the Australian troops saying that the attack was to be launched at 3.10am. Several of the commanders saw to it that their troops had a second meal, around midnight. At 10.30pm the tanks, with their engines throttled down began their journey to the assembly point about ½ mile behind the front.
27th Jun 1918: Sinking of HS ‘Llandovery Castle’ one of most controversial events of WW1
 One of the more controversial events during the Great War was the sinking of the Canadian Hospital Ship Llandovery Castle by a German submarine, U-86, off the coast of Southern Ireland. Launched in September 1913 the Llandovery Castle (photograph right before commisioned as a Hospital Ship) was requisitioned in 1916 and was used to transport the 22nd Battalion from Alexandria to Marseille in March 1916 as the AIF moved from Egypt to France for the fighting on the Western Front. She was commissioned as a hospital ship on 26th July 1916, and assigned to the Canadian Forces, equipped with 622 beds and a medical staff of 102.
The ship was returning to England after having brought Canadian casualties back to Halifax, Nova Scotia. Being a Hospital Ship, it was clearly identified as such with a brightly illuminated Red Cross, was unarmed and running with full lights. On board, the crew consisted of one hundred and sixty-four men, eighty officers and men of the Canadian Medical Corps, and fourteen nurses, a total of two hundred and fifty-eight persons. The Llandovery Castle was struck by torpedo at night, and despite difficulty the crew and medical staff were able to get into a number of lifeboats before she sank, and they started to pick up survivors in the water. The submarine came up and interrupted the recovery and went alongside the Captain’s lifeboat. The U-boat commander took Captain Sylvester on board and started questioning him along with a Canadian Medical Officer in the belief that the ship had eight American Flying Officers on board. This was denied and the Captain and Medical Officer were allowed back into the lifeboat. However with most of the U-boat crew now below deck in preparation for diving, orders were given to open fire on the lifeboats to destroy the evidence of the torpedoing. Only one lifeboat survived the attack. It was picked up by the destroyer Lysander on the morning of 29th June, 36 hours after the attack. Just twenty four  people survived the attack on the lifeboats, including six members of the Canadian Army Medical Corps. All 14 Nursing Sisters on board lost their lives. For the Canadians this was the most significant naval disaster in the war, and given the status of the ship and the medical crew on board was met with outrage. After the war, the British initiated a War Crimes trial against the officers of U-86. The commander, Helmut Patzig could not be found and was never brought to trial. The two other officers, Ludwig Dithmar and John Boldt were tried and convicted. The men were sentenced to 4 years of hard labour, but escaped while underway to the prison. It is unclear if they were ever recaptured.
23rd Jun 1918: 22nd Bn inspected by the new Corps Commander
The Battalion had its first inspection by Lieutenant-General Sir John Monash, the new Australian Corps Commander, when he presented decorations and ribands, with a stirring speech outlining the heavy work yet to be done. Meanwhile a Field General Courts Martial for the 6th Brigade was convened under the Presidency of Major Matthews of the 22nd Battalion. The charged included four men from the Battalion of which two were from the 5th/22nd.
21st Jun 1918: Monash receives approval for Hamel attack
Having discussed verbally with General Rawlinson, commanding officer of the British Fourth Army, the possibility and indeed importance of going on the offensive, General Monash submitted his proposal for an attack at Hamel on the Somme in writing and approval was given straight away. The operation was to be primarily a tank operation utilising the new Mark V Tank with its enhanced mobility, backed up by the infantry. A challenge for Monash was that the infantry that would be conducting the attack – the AIF 4th Division – were the ones that were so badly let down at the First Battle of Bullecourt in April 1917. Over the coming weeks infantry battalion after infantry battalion was brought by bus to Vaux to spend a day to play with the tanks and meet and chat with the tank crews. More serious set-piece manoeuvre exercises on the scale of a battalion were rehearsed over and over again. Within a short time the ‘digger’ had taken the Tank to his heart. Two new principles were to be employed: firstly that on the battlefield until the objective had been taken the tank would come under the command of the infantry commander; and secondly that the tanks would advance in line with the infantry, much closer to the line of the barrage than had been done before.
At the meeting Rawlinson asked Monash about the position concerning reinforcements. The present shortage was over 8,000 men across the five divisions of which there were just 5,000, the majority in the UK, in the depots in England and Le Havre. At this time GHQ had ordered a reduction across the British infantry battalions from 966 to 900 as a result of the heavy losses in March and April, but the Australian battalions would still be below this number.
20th Jun 1918: Americans begin to arrive in British back area
American infantry battalions began to arrive in the back area near the Corps and Army headquarters for training in the front line with the British and Australians. Right from the beginning the Americans and the Australians mixed well as they were more akin than with the British. To many observing Australians the arriving Americans reminded them of the fine old AIF 1st Division arriving at the start of the war in Egypt. General Rawlinson received approval for the Americans to have their first attack with his forces at Hamel on 4th July, their Independence Day.
11th Jun 1918: Germans bombard 22nd Bn with gas shells
Enemy artillery was active, with about 250 Green Cross gas shells (pulmonary agent designed to impede the ability to breathe) fired between 1.45 & 3am, with Pte Rogan killed in action. This was the start of a period peaking in July when the Battalion was subjected to frequent and heavy gas shell bombardments causing many casualties, both the the bombardment and the gas that would often hang around for days
10th Jun 1918: 22nd Bn successful raid at Morlancourt; Lt Harricks wins MC
 Active patrolling was maintained and continued to yield a steady stream of prisoners for intelligence gathering purposes as well as provide further slices of ground in important areas such as the on the Morlancourt ridge. One such large and successful dusk raid by Rosenthal’s AIF 2nd Division led by the 7th Brigade captured part of the ridge between Sailly-Laurette and Morlancourt resulting in 330 prisoners and 33 machine guns. Demonstrations by the Australian infantry and artillery on both of the flanks of the 7th Brigade’s attack succeeded in causing the Germans there to believe that the front of the assault was much wider than was actually the case. Under the northern extension of the barrage the 6th Brigade (22nd Battalion) raided the Germans on the spur between Ville-sur-Ancre and Morlancourt. Led by Lieut. Harricks the 22nd Battalion raiders fought without suffering a casualty, killed 30 of the enemy and brought back 6 prisoners and a machine gun. For this dashing operation Lieut. Harricks received the Military Cross, and five other raiders – L-Cpl Harris, Sgt Nicholls, L-Cpl Russell, L-Cpl Strawhorn and Pte Watson – were also decorated with the Military Medal. Farther north the 23rd Battalion attempted to enter the German trench opposite the old Casualty Clearing Station near Dernancourt but failed losing three killed and 18 wounded.
9th Jun 1918: 22nd Bn raiding party casualties; Sgt Strachan wins DCM
Following a successful raiding patrol against an enemy post, Lieut. Lennon was killed re-entering the Battalion lines along with Sgt Tyler and Pte Bunworth and with a further six men wounded. [Watch the ‘Macarthur: uncovering stories of sacrifice’ video that follows the family of Pte Bunworth in this quest]. During the raid Sgt Strachan of the 5th/22nd was awarded the DCM before bringing back his badly wounded officer and one prisoner despite being wounded. At 10.30pm a further gas projectile attack was performed on the northern end of Morlancourt using 200 projectors.
9th Jun 1918: Germans launch fourth & final Spring Offensive against French
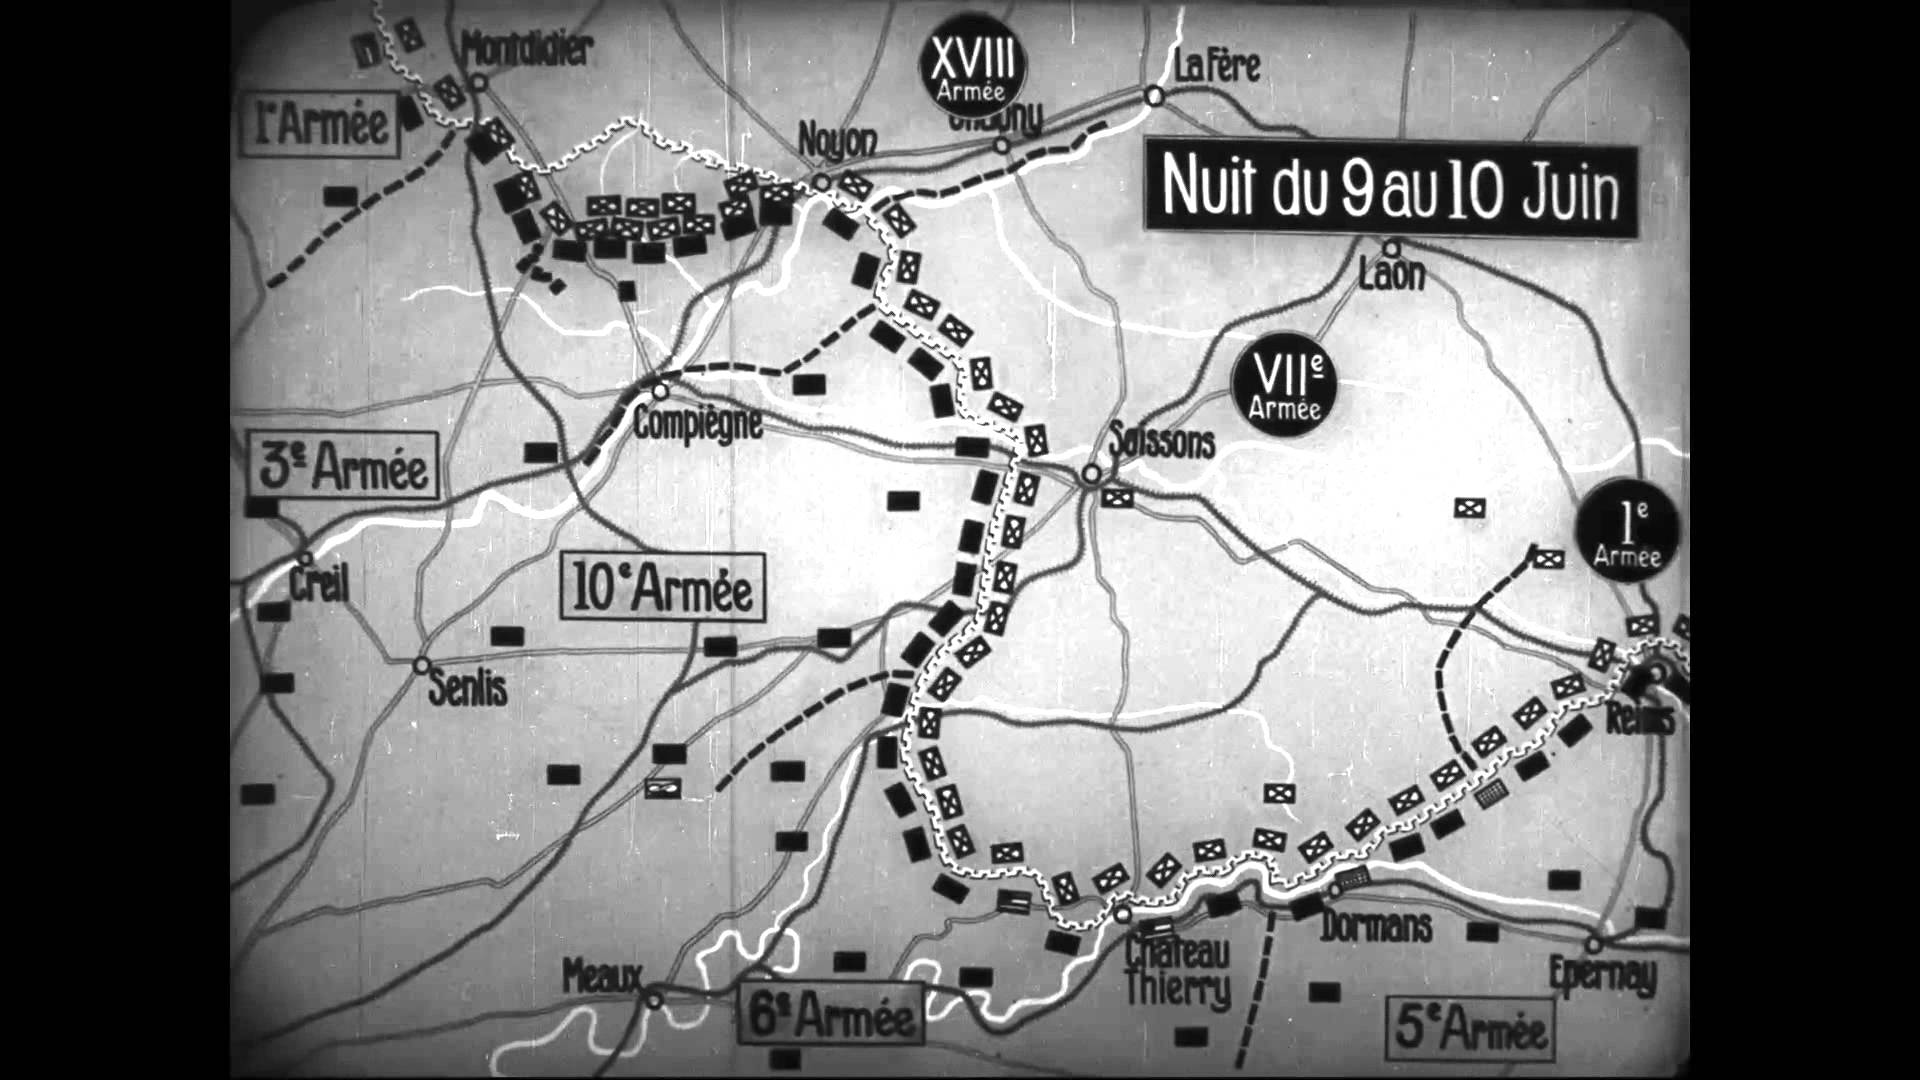 Ludendorff sought to extend Blücher-Yorck westward with Operation Gneisenau, the last of the four great operations in the Kaiserschlacht, intending to draw yet more Allied reserves south, widen the German salient and link with the German salient to the north at Amiens. The French had been warned of this attack by information from German prisoners, and their defence in depth reduced the impact of the opening artillery bombardment. Nonetheless, the German advance consisting of 21 divisions attacking over a 23 miles front along the Matz River was impressive, resulting in gains of 9 miles despite fierce French and American resistance. At Compiegne on the 11th June a sudden French counter-attack by four divisions and 150 tanks with no preliminary bombardment, caught the Germans by surprise and halted their advance. Gneisenau was called off two days later, and losses were approximately 35,000 Allied and 30,000 German.
