
 The following photographs have been taken during trips to the battlefields where the 22nd Battalion fought in France & Belgium between 1916 & 1918. In the vast majority of places the landscape today remains largely unchanged from that prior to the Great War. After the war farmers began to reclaim and plough the land, and in most locations the trenches and shell holes slowly disappeared, however the villages and woods have been re-built and re-generated on their same pre-war footprint giving us the visual references today to the events of over a century ago. Armed with well documented accounts and maps (or with a battlefield guide), one can stand in these now tranquil parts of northern Europe and contemplate what our soldiers and relatives had to endure at these spots but in very different circumstances. Additional photographs taken at other battlefield sites can be viewed by clicking on the Western Front Picture Gallery link.
A brief description accompanies the photographs below, but for more detailed information surrounding the events and actions at these sites, plus links to geo-referenced trench maps, click on other pages of this website such as the Events Archives or Combat Areas pages to discover more.
Pozieres & Mouquet Farm: July & August 1916


The 1st Australian Division Monument which commemorates the successful attack on the German Second Somme Line at Pozieres on 23rd July 1916, the front line trench now marked by the hedge running behind the monument in the sunset photograph, and in the foreground taken at the 2016 centenary commemoration ceremony. This trench, ‘K’ Trench, became one of the main communication trenches for the Australians including the 22nd Battalion as the men moved forward for the attack on the OG1 & OG2 lines. As the German artillery knew the exact location of this trench it received very heavy shelling and accounted for numerous casualties. To the left of the orientation board is the German dugout and strong-point known as ‘Gibraltar’.
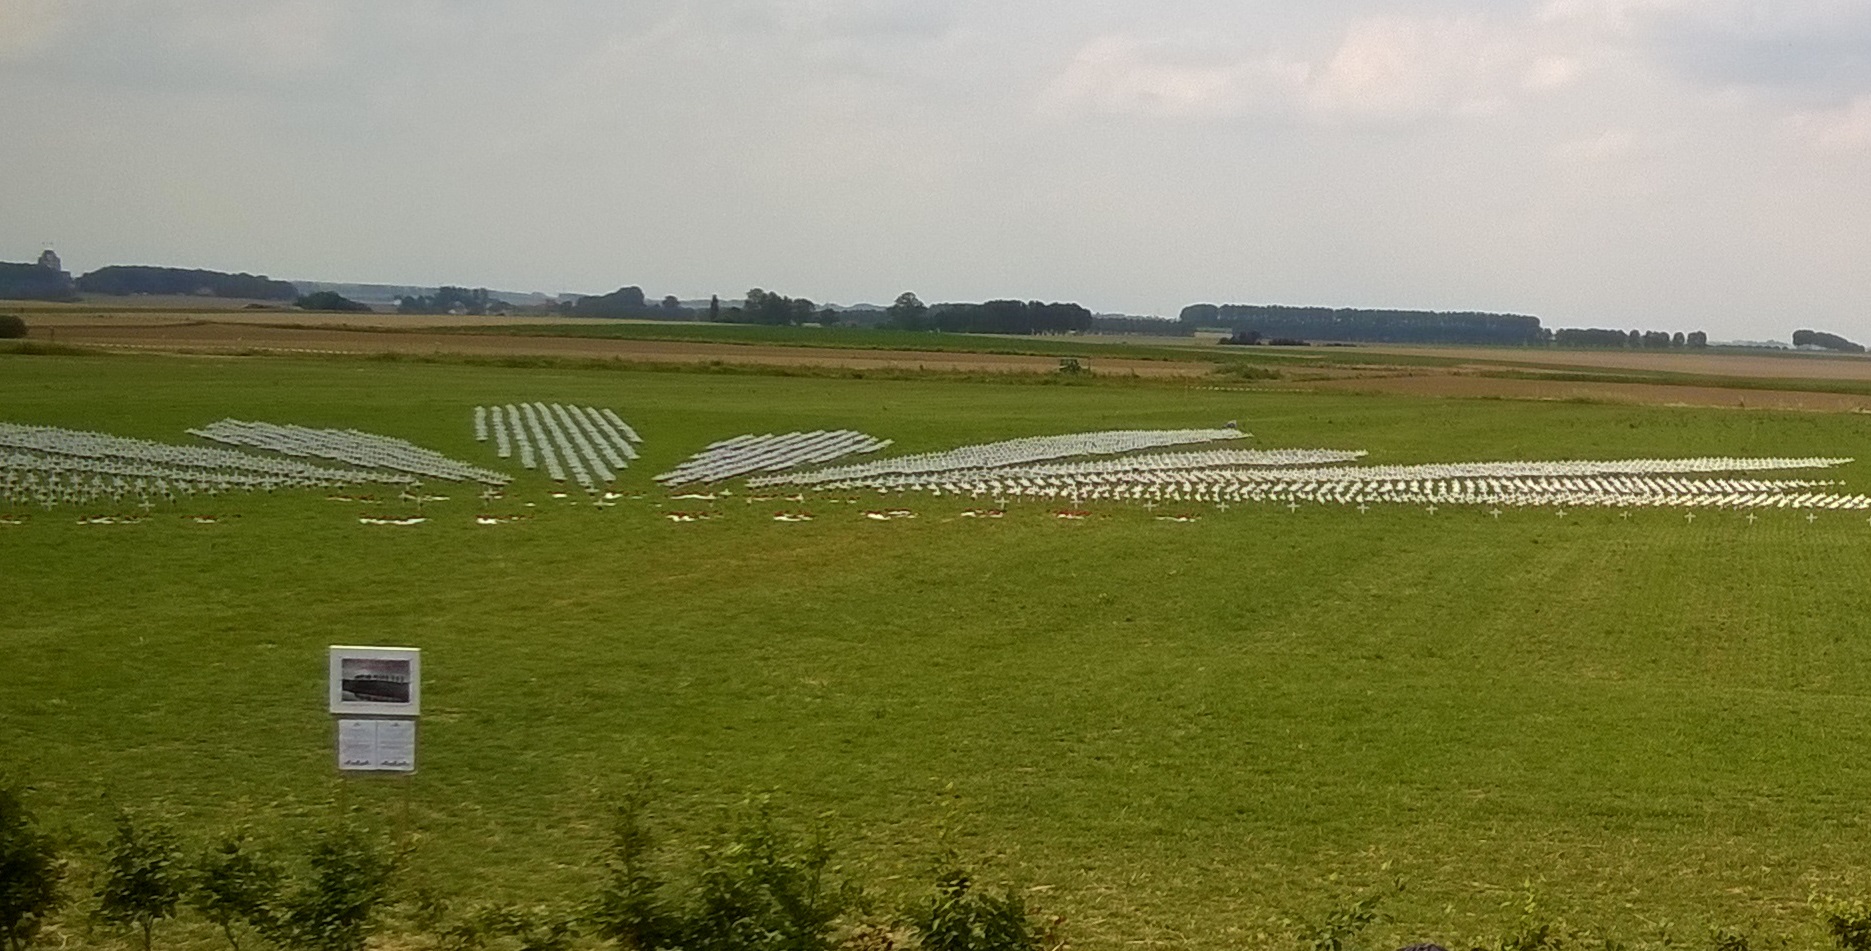
The Pozieres Heights as seen from The Windmill where on the 4th/5th August 1916 the 22nd Battalion attacking from left to right (in second & third fields) took the OG1 & OG2 trenches (two parallel trenches with OG2 from this point to the trees in the centre – Mouquet Farm). The photograph was taken in 2016 during the centenary commemorations with the crosses representing the Australians killed at Pozieres laid out in the shape of the Rising Sun badge. The Thiepval Memorial can be seen on the far left horizon.

Today’s rebuilt Mouquet Farm taken from the site of the Mouquet Farm Memorial (located at main group of trees in the centre of the photograph below). Standing at this memorial and turning 180 degrees in the direction of Thiepval, it was on the opposite side of the road where ‘B’ Coy of the 22nd suffered heavy casualties on the left flank of the 26th August 1916 attack, with Capt. Smith killed and Lieut. Cumming wounded and taken PoW.
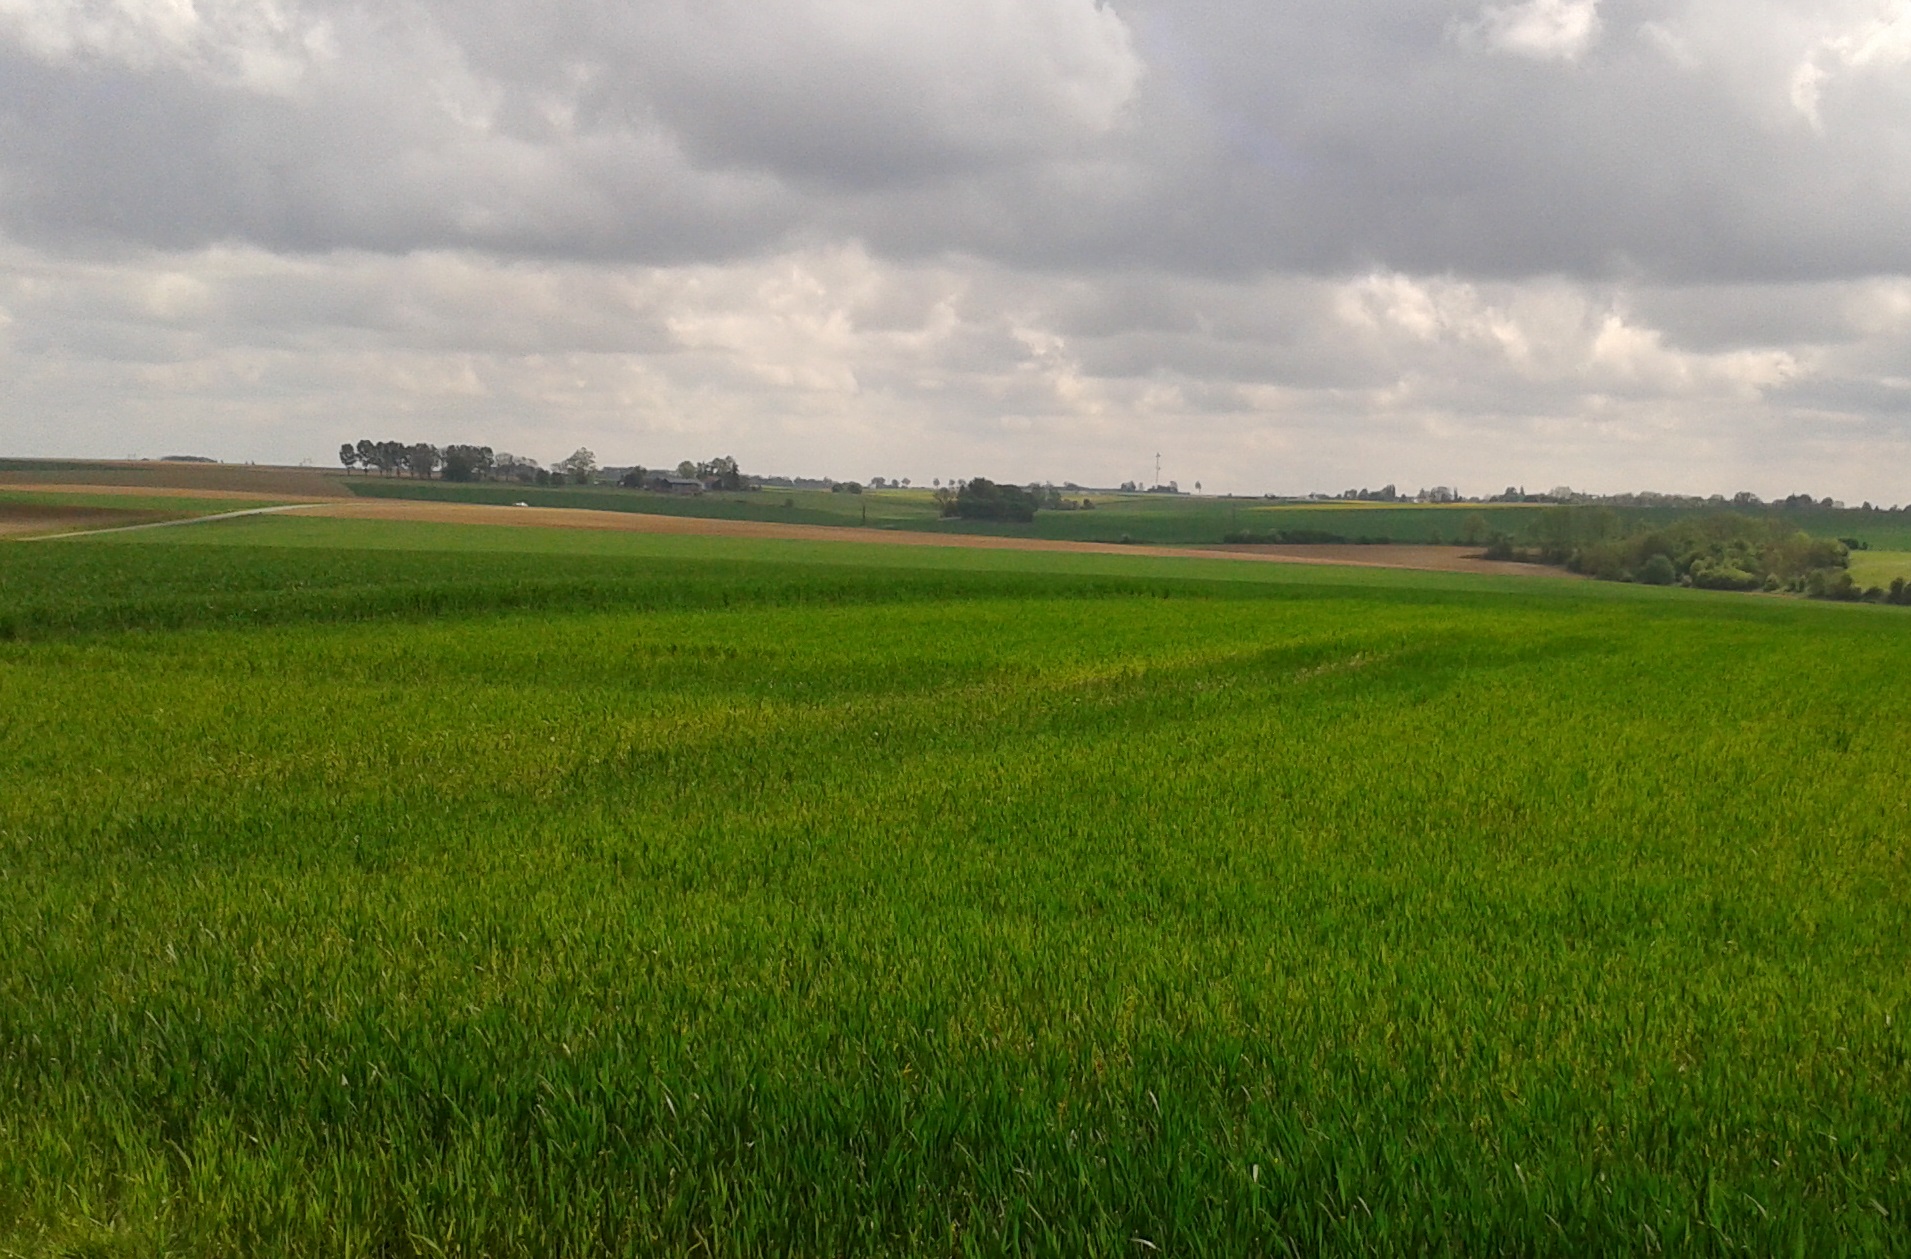
Photograph taken close to the Thiepval Memorial to the Missing looking east towards the village of Pozieres (on ridge, far right) and Mouquet Farm (by trees on the left) . This location was held by the Germans at the start of the Somme offensive on the 1st July 1916 and remained so until the Battle of Thiepval Ridge at the end of September. As a result this was the north side of the very exposed and dangerous salient for the Australians fighting about Pozieres & Mouquet Farm. Zooming in, the communications tower in the centre on the horizon is the location of the Pozieres Windmill.
Sanctuary Wood, Ypres: September & October 1916


Following the heavy fighting at Pozieres on the Somme in July & August 1916, the 22nd Battalion made its first visit to Belgium and the Ypres Salient in what was then a relatively quiet sector to the east of the city. For three weeks the 22nd & 23rd Battalions of 6th Brigade rotated between the firing line and support trenches along a line stretching from the Menin Road in the north to Sanctuary Wood in the south. It is at Sanctuary Wood, where the Canadians saw heavy fighting in June 1916 for Hill 62, that trenches, tunnels and battlefield debris and artefacts have been preserved and can be explored as part of the Sanctuary Wood Museum (see montage above).


Also at the location where the old front line crosses the Menin Road, more WW1 artefacts can be found in the Hooge Crater Museum, and in the grounds of the Kasteelhof’t Hooghe hotel next door can be found remains of trenches, a German block house and lake that has filled one of the many mines that were blown in this area (see photographs above).
Bullecourt: 3rd May 1917

The Australian 5th & 6th Brigades were tasked with attacking the strongly held German position on the Hindenburg Line at Bullecourt on 3rd May 1917. The photograph is taken from the junction of the old railway embankment which acted as the Australian forward position and the gap known as the Central Road, looking towards the German trenches known as OG1 & OG2. The 6th Brigade were to the left of the Central Road, and as a consequence Brig-Gen. Gellibrand decisively had his forward HQ at a point 100m from this gap where the embankment was at its highest. The 22nd Battalion was on the Brigades far left attacking towards line of trees seen in the distance. The field boundary line seen running from right to left in the middle of the photograph becomes a sunken lane from which the Battalion formed up to mount the dawn attack.

The Bullecourt Digger situated in the Australian Memorial Park commemorating the 4th & 2nd Australian Divisions that fought in the two Bullecourt battles of April and May 1917 is located on the OG2 trench line at the very point taken by the 22nd Battalion.
Broodseinde: 4th October 1917
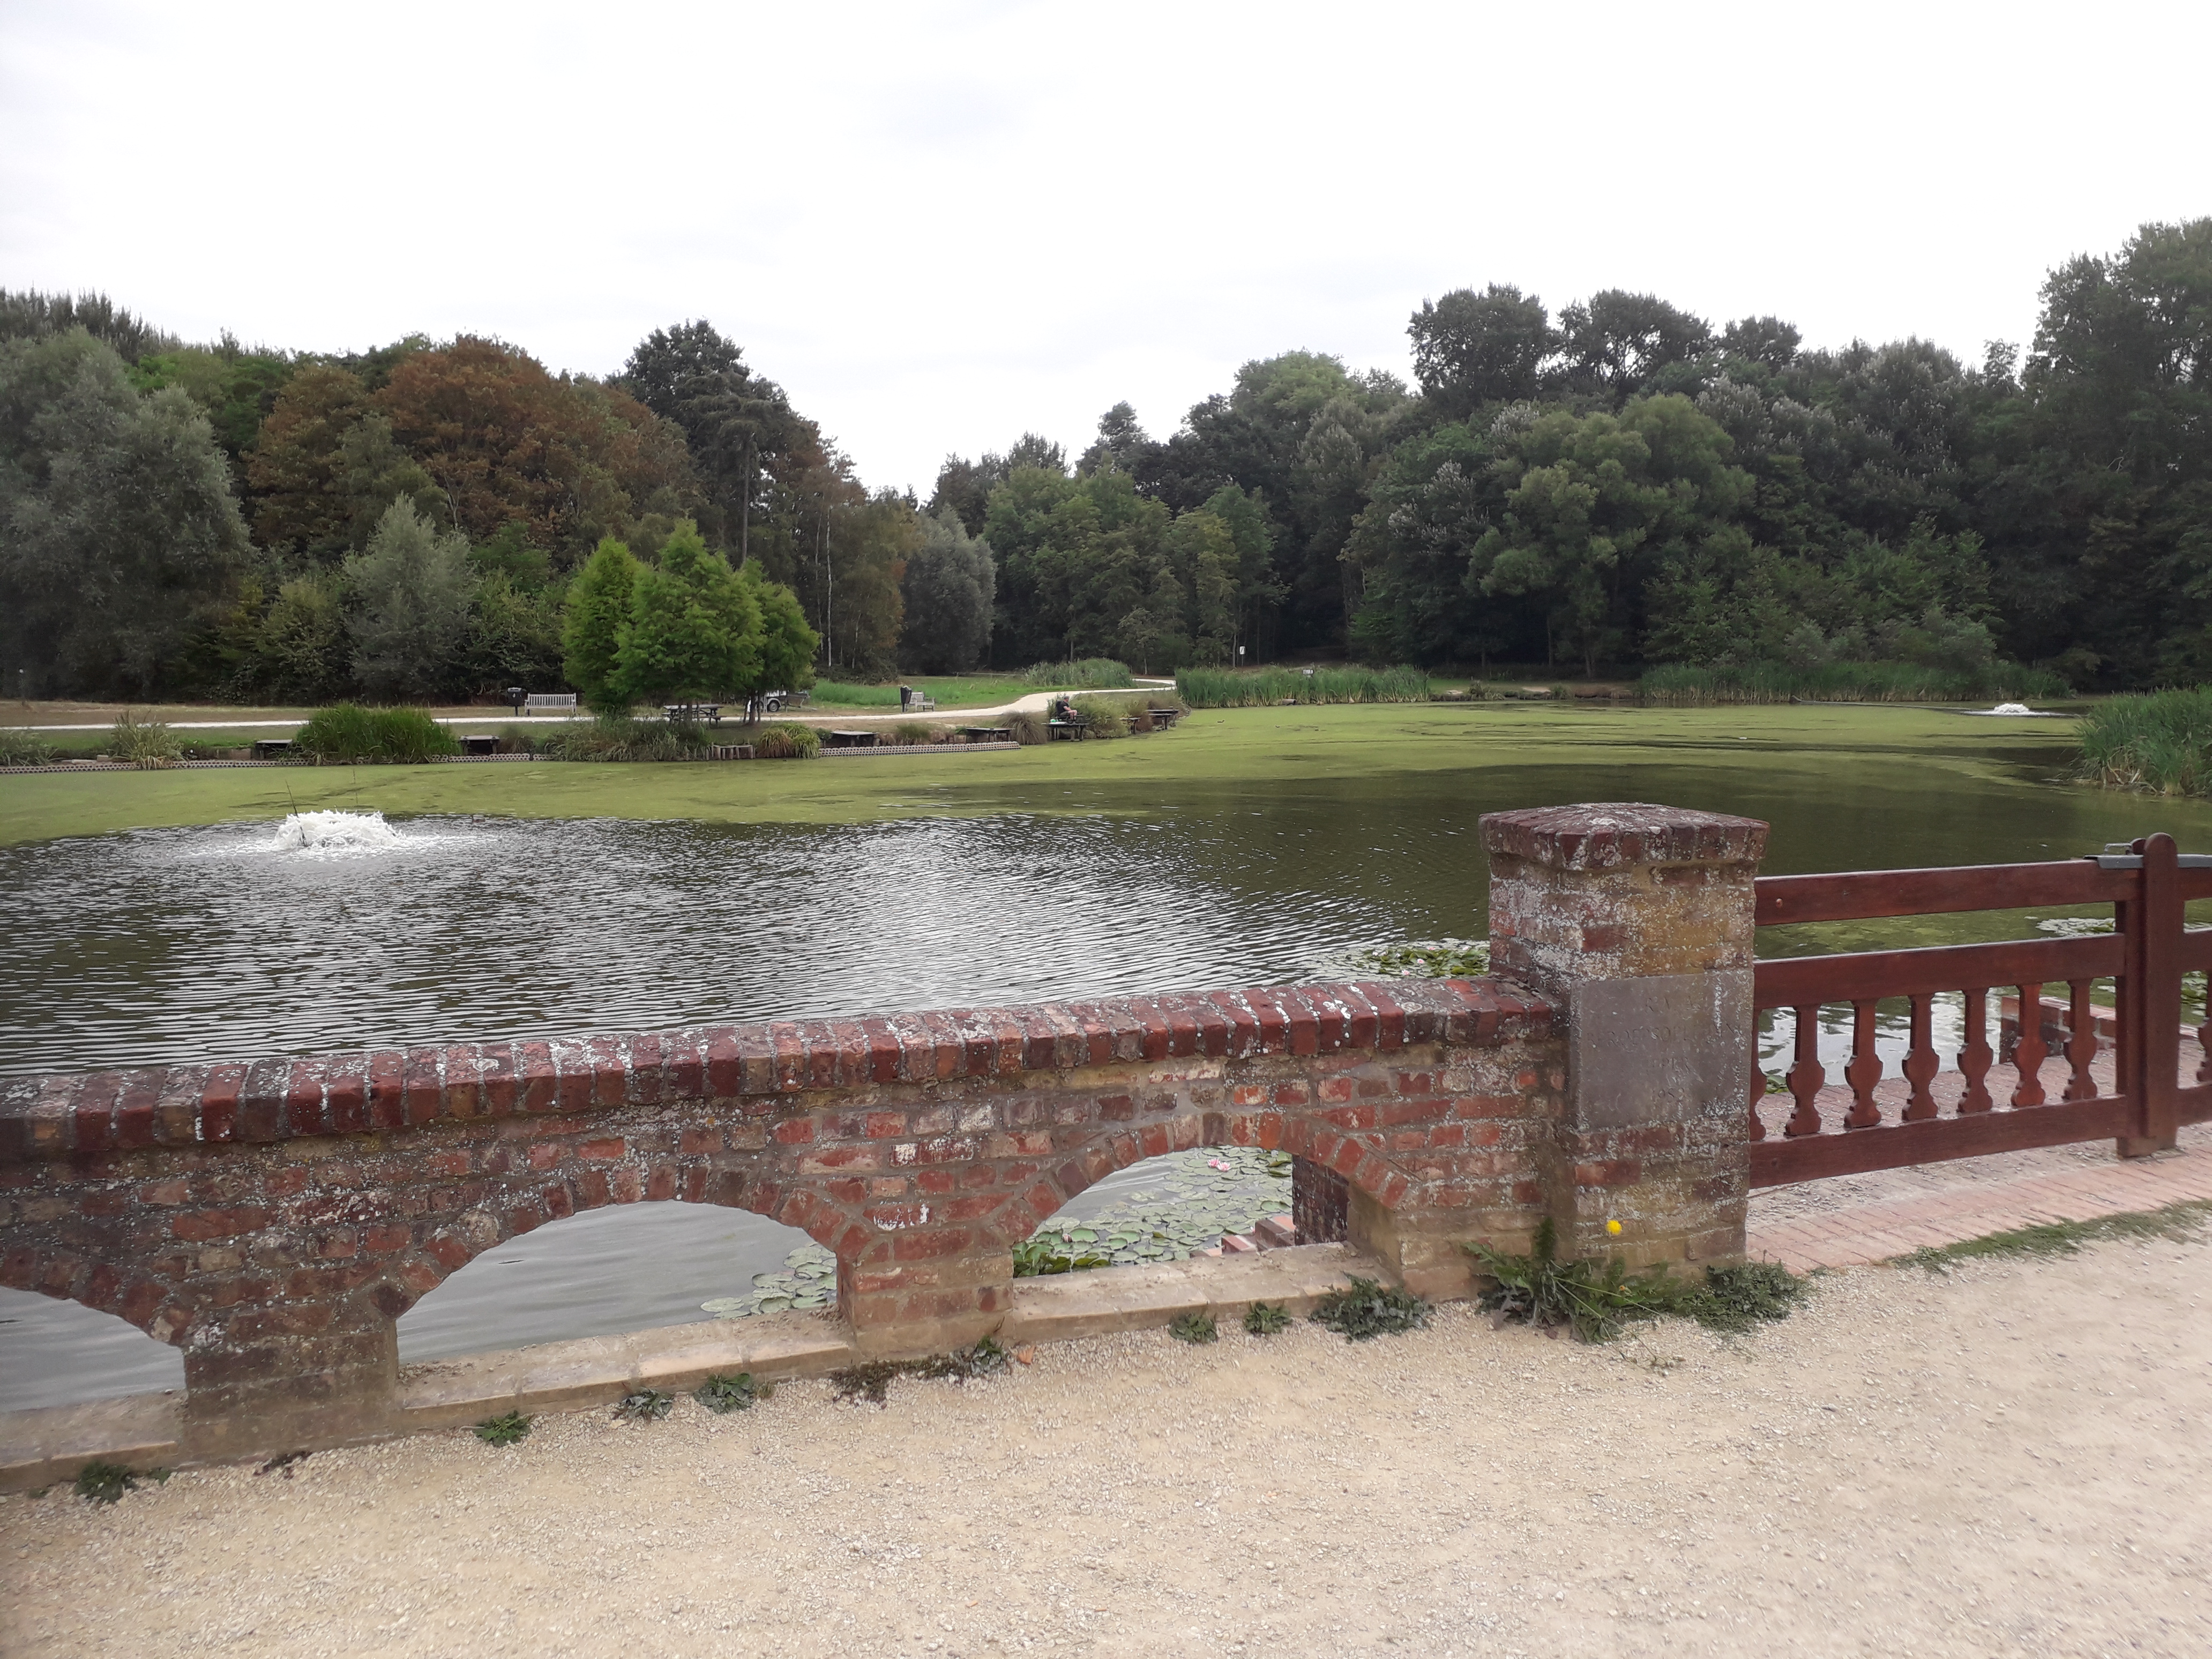
Zonnebeke Lake shown in the photograph sits in the grounds of Zonnebeke Chateau that houses the Memorial Museum Passchendaele. It is at this location that the 22nd Battalion launched their successful 4th October 1917 attack up the Broodseinde Ridge. Lieut. Blanchard was killed while leading a party around the lake from right to left to link up with the 25th Battalion on the left.


In addition to the large collection of WW1 equipment and memorabilia, the Memorial Museum Passchendaele has replica dugout rooms that have been constructed in the cellars, and outside there is an impressive replica network of trenches constructed in the same materials and methods used during the war (see montage above). Note that in October 1917 these trenches were not in existence and the men of the 22nd Battalion would have been lying in shell holes waiting for the off.
Dernancourt: April 1918

Photograph looking east taken from the forward position on the Lavieville Heights just to the south/right of the Amiens – Albert road, about a mile to the west of Albert. This is the location of the outposts and forward defensive line taken over by the 22nd Battalion on 7th April 1918 having just relieved the victorious battalions of the 4th Australian Division that had stopped the German advance during their great Spring Offensive.

Lavieville Heights, this time looking southwards and down the slope towards the railway line and the village of Dernancourt in the dip.


At the bottom of the slope off the Lavieville Heights, photograph of the memorial unveiled in 2018 commemorating the successful defense of this area during the German Spring Offensive. The railway and its embankment saw heavy fighting particularly by units of the 4th Australian Division. Murals have been painted on both sides of the railway arch, and on the south side includes a nurse acknowledging that the Edgehill Casualty Clearing Stations were located on the north side of the railway for long periods following the Somme 1916 & 1918 offensives.
Ville-sur-Ancre & Morlancourt: May & June 1918
Looking south with the village of Ville-sur-Ancre behind, photograph of the lane known as the ‘Little Caterpillar’ which was the first of the objectives for the attack of 19th May 1918. The 22nd Battalion’s line of attack was from right to left.

The main ‘Big Caterpillar’ objective for the 22nd Battalion’s 19th May 1918 attack. This photograph is looking north towards the village of Ville-sur-Ancre showing the start of the sunken lane (‘Little Caterpillar’ is to the left, and the attack from left to right).

The ‘Big Caterpillar’ as seen from the opposite end (looking south) where the sunken lane is deeper. It was at the ‘Big Caterpillar’ that Sgt Ruthven, VC, became the Battalion’s sole recipient of the Victoria Cross during the War.


Photographs showing the remains of three of the numerous German dug-outs found in the banks of the ‘Big Caterpillar’ and adjacent sunken lane.
Photograph taken from the ‘Big Caterpillar’ lane looking east towards the village of Morlancourt, seen on the right in the dip. This was the location from which men from the 22nd Battalion held the front line in June 1918 and launched a number of successful ‘peaceful penetration’ raids against the enemy including the raid led by Lieut. Harricks, MC, on the 10th June. It was also from these positions that Livens Gas Projector attacks were launched against the Germans and where in return the Battalion received casualties from enemy gas shelling.
Photograph of the approximate location of the German forward positions in June 1918 that were subject to 22nd Battalion ‘peaceful penetration’ and Livens Gas attacks (from right to left). This location is down the slope on the left hand side of the previous photograph, with the ‘Big Caterpillar’ on the right and Morlancourt to the left.
Villers-Bretonneux: August 1918

Photograph taken from the top of the Villers-Bretonneux Australian National Memorial tower above the new Sir John Monash Centre (roof and steps seen in picture) looking east towards the forward position held on the right by the 22nd Battalion ahead of the great Amiens breakthrough by the Australian and Canadian forces backed by tanks, artillery and aircraft on the 8th August 1918.
Beaurevoir: 3rd & 4th October 1918

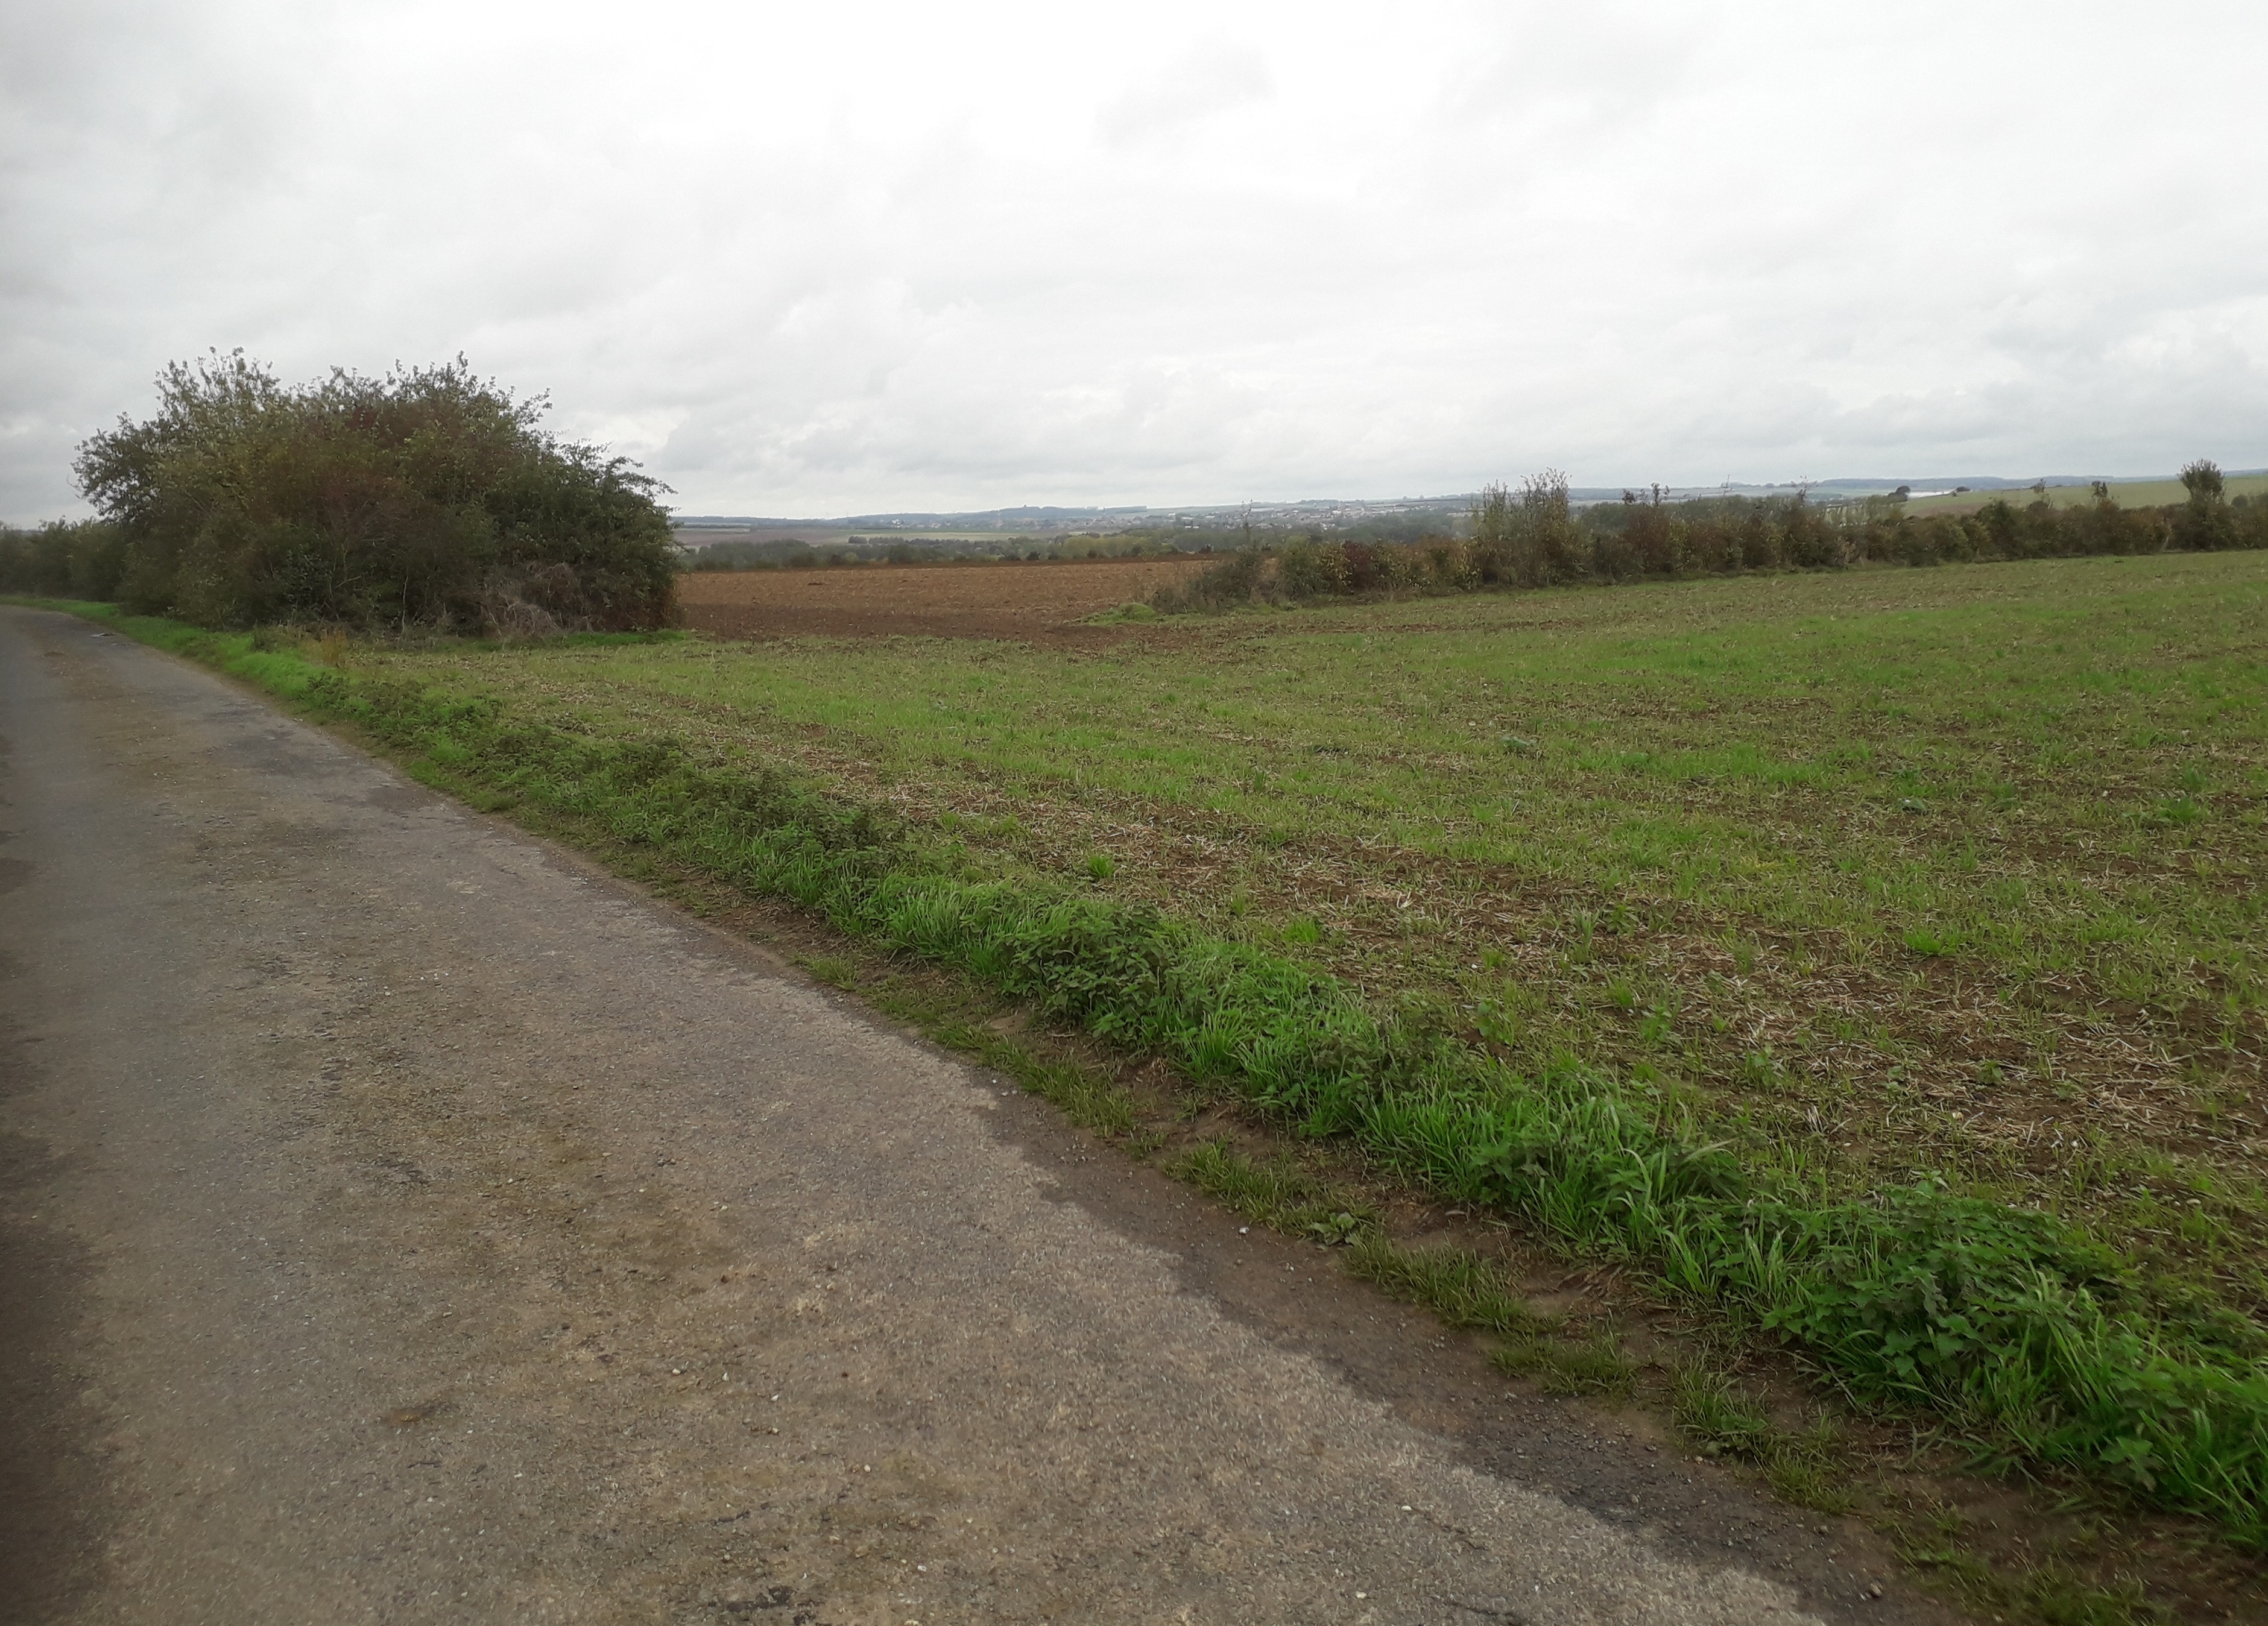
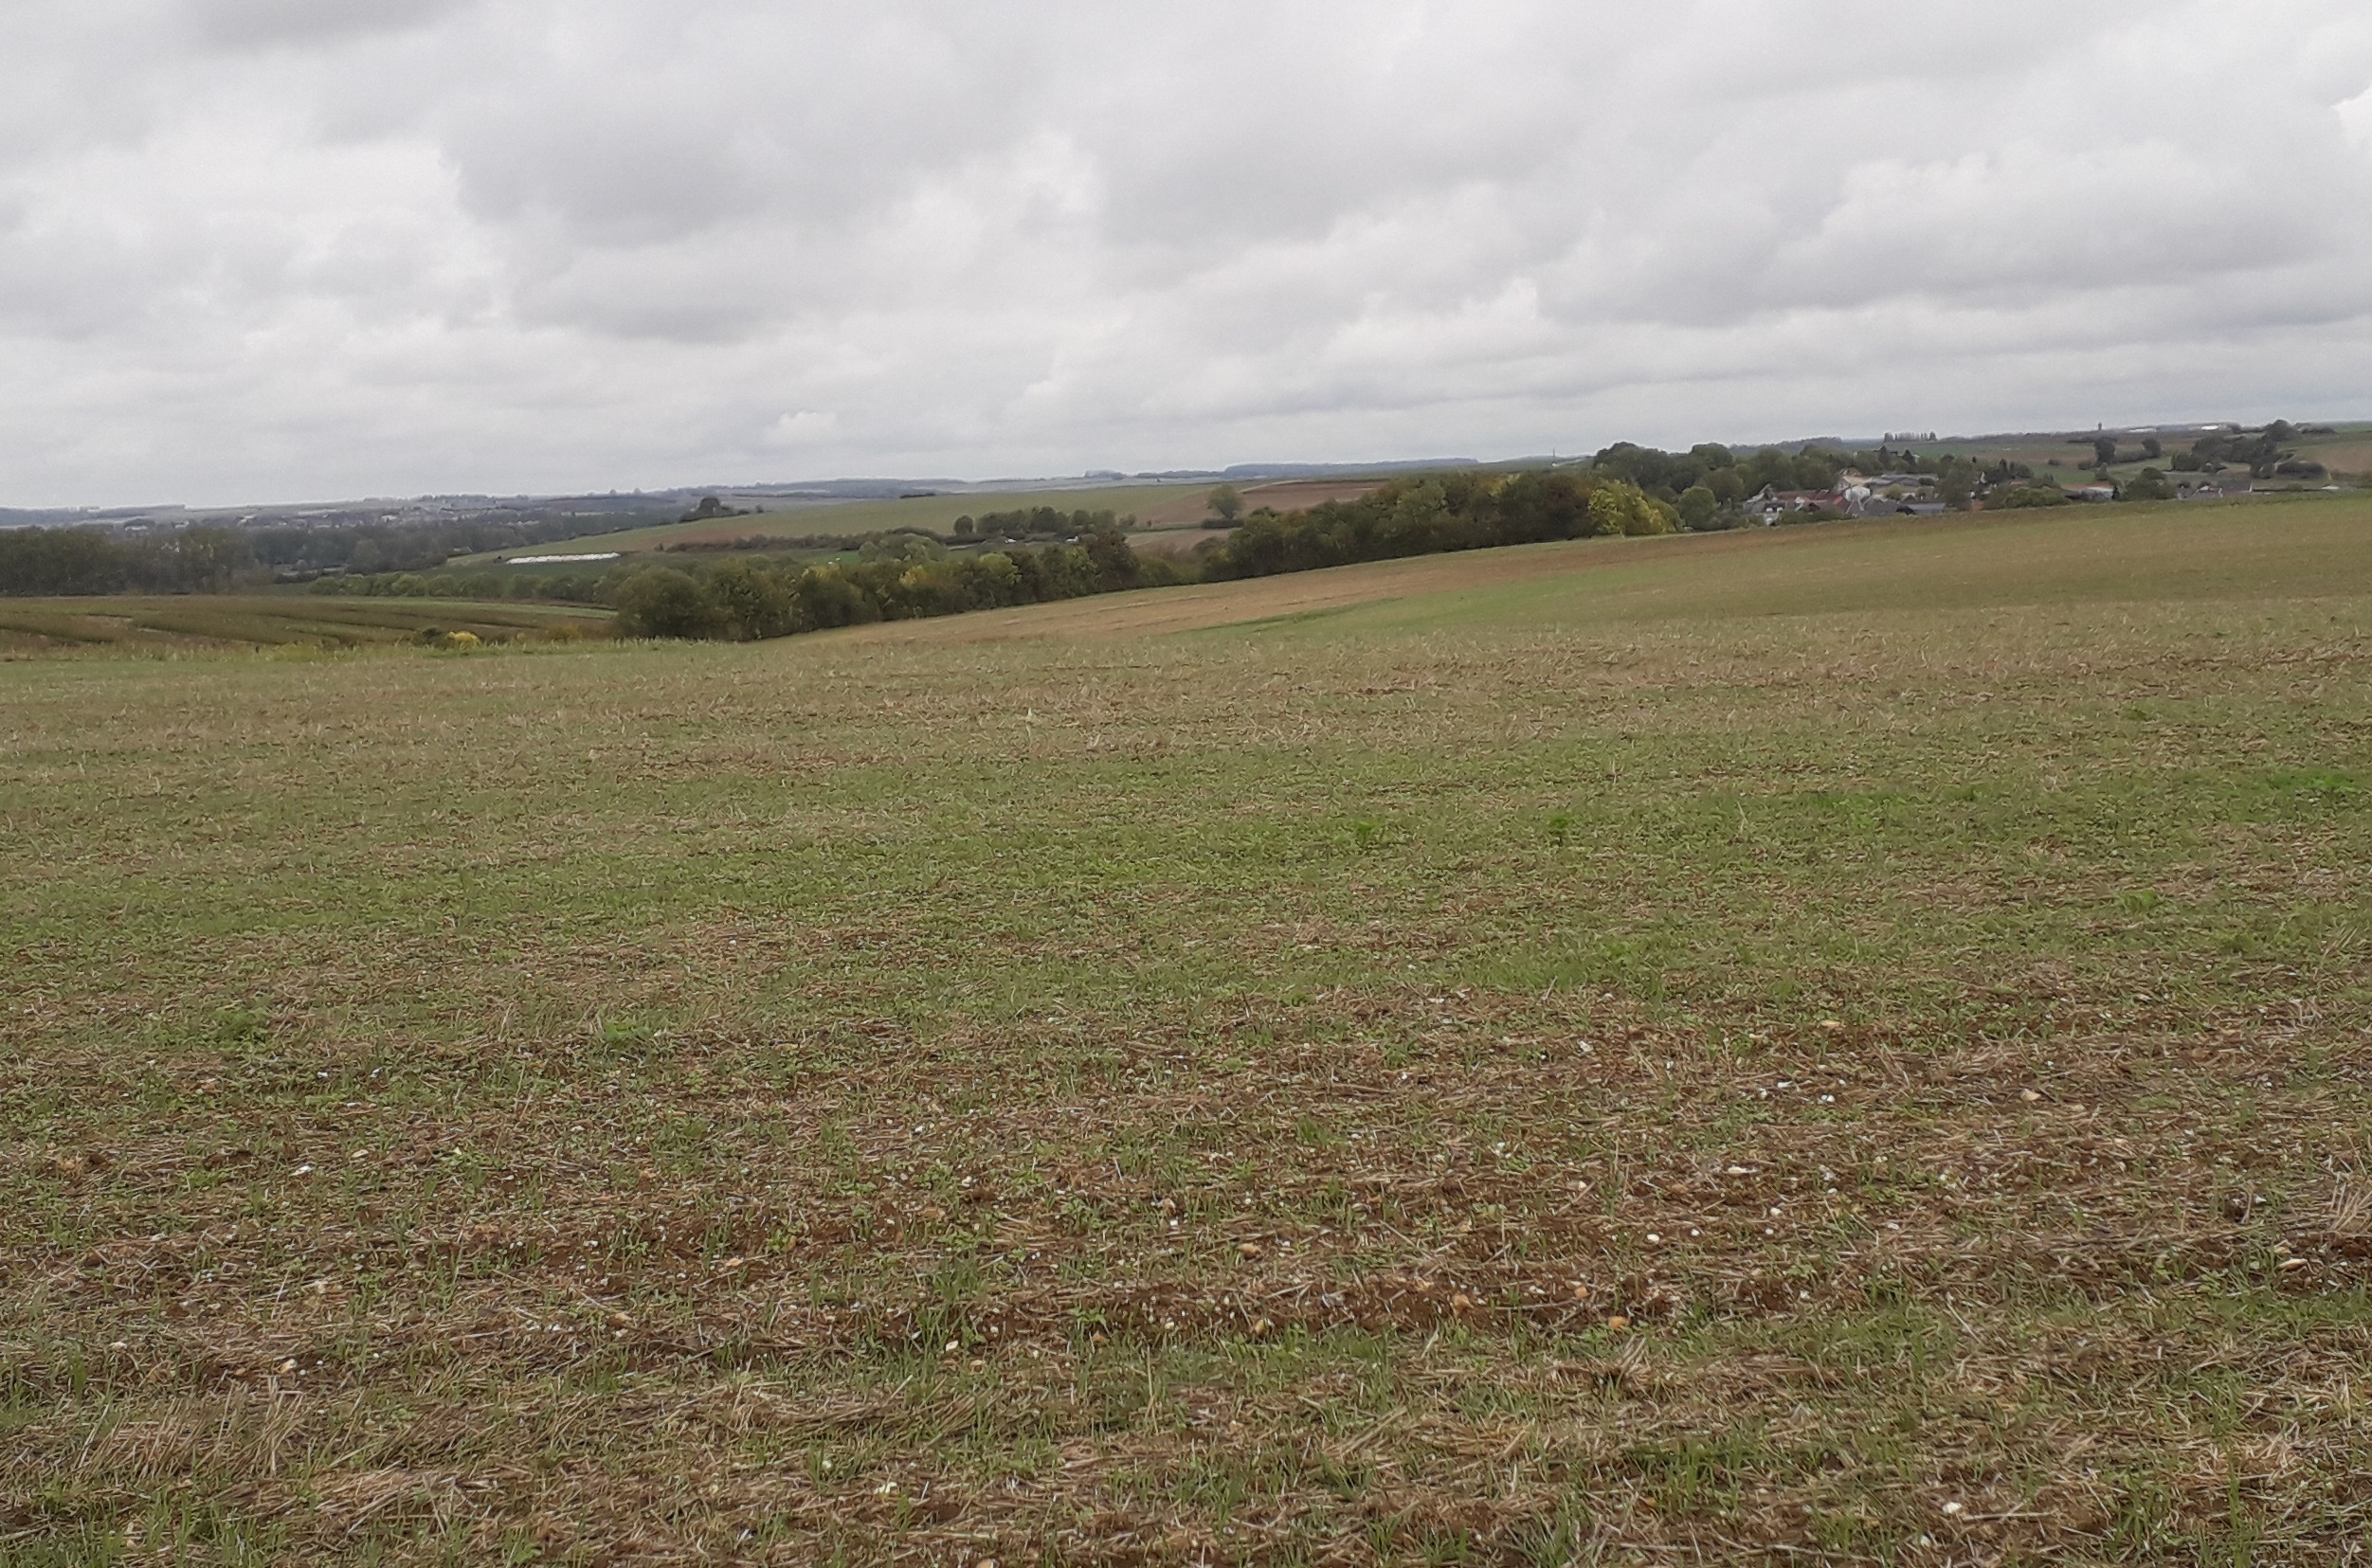
The Estrees to Geneve road with the village of Beaurevoir on the left horizon. The objective for the 3rd October 1918 was the ridge line shown, and where Capt. Braithwaite, MC, of ‘C’ Coy was killed attacking to the left of the road, and Capt. Paterson, MC, of ‘D’ Coy killed near the copse visible on the ridge to the right of the road.
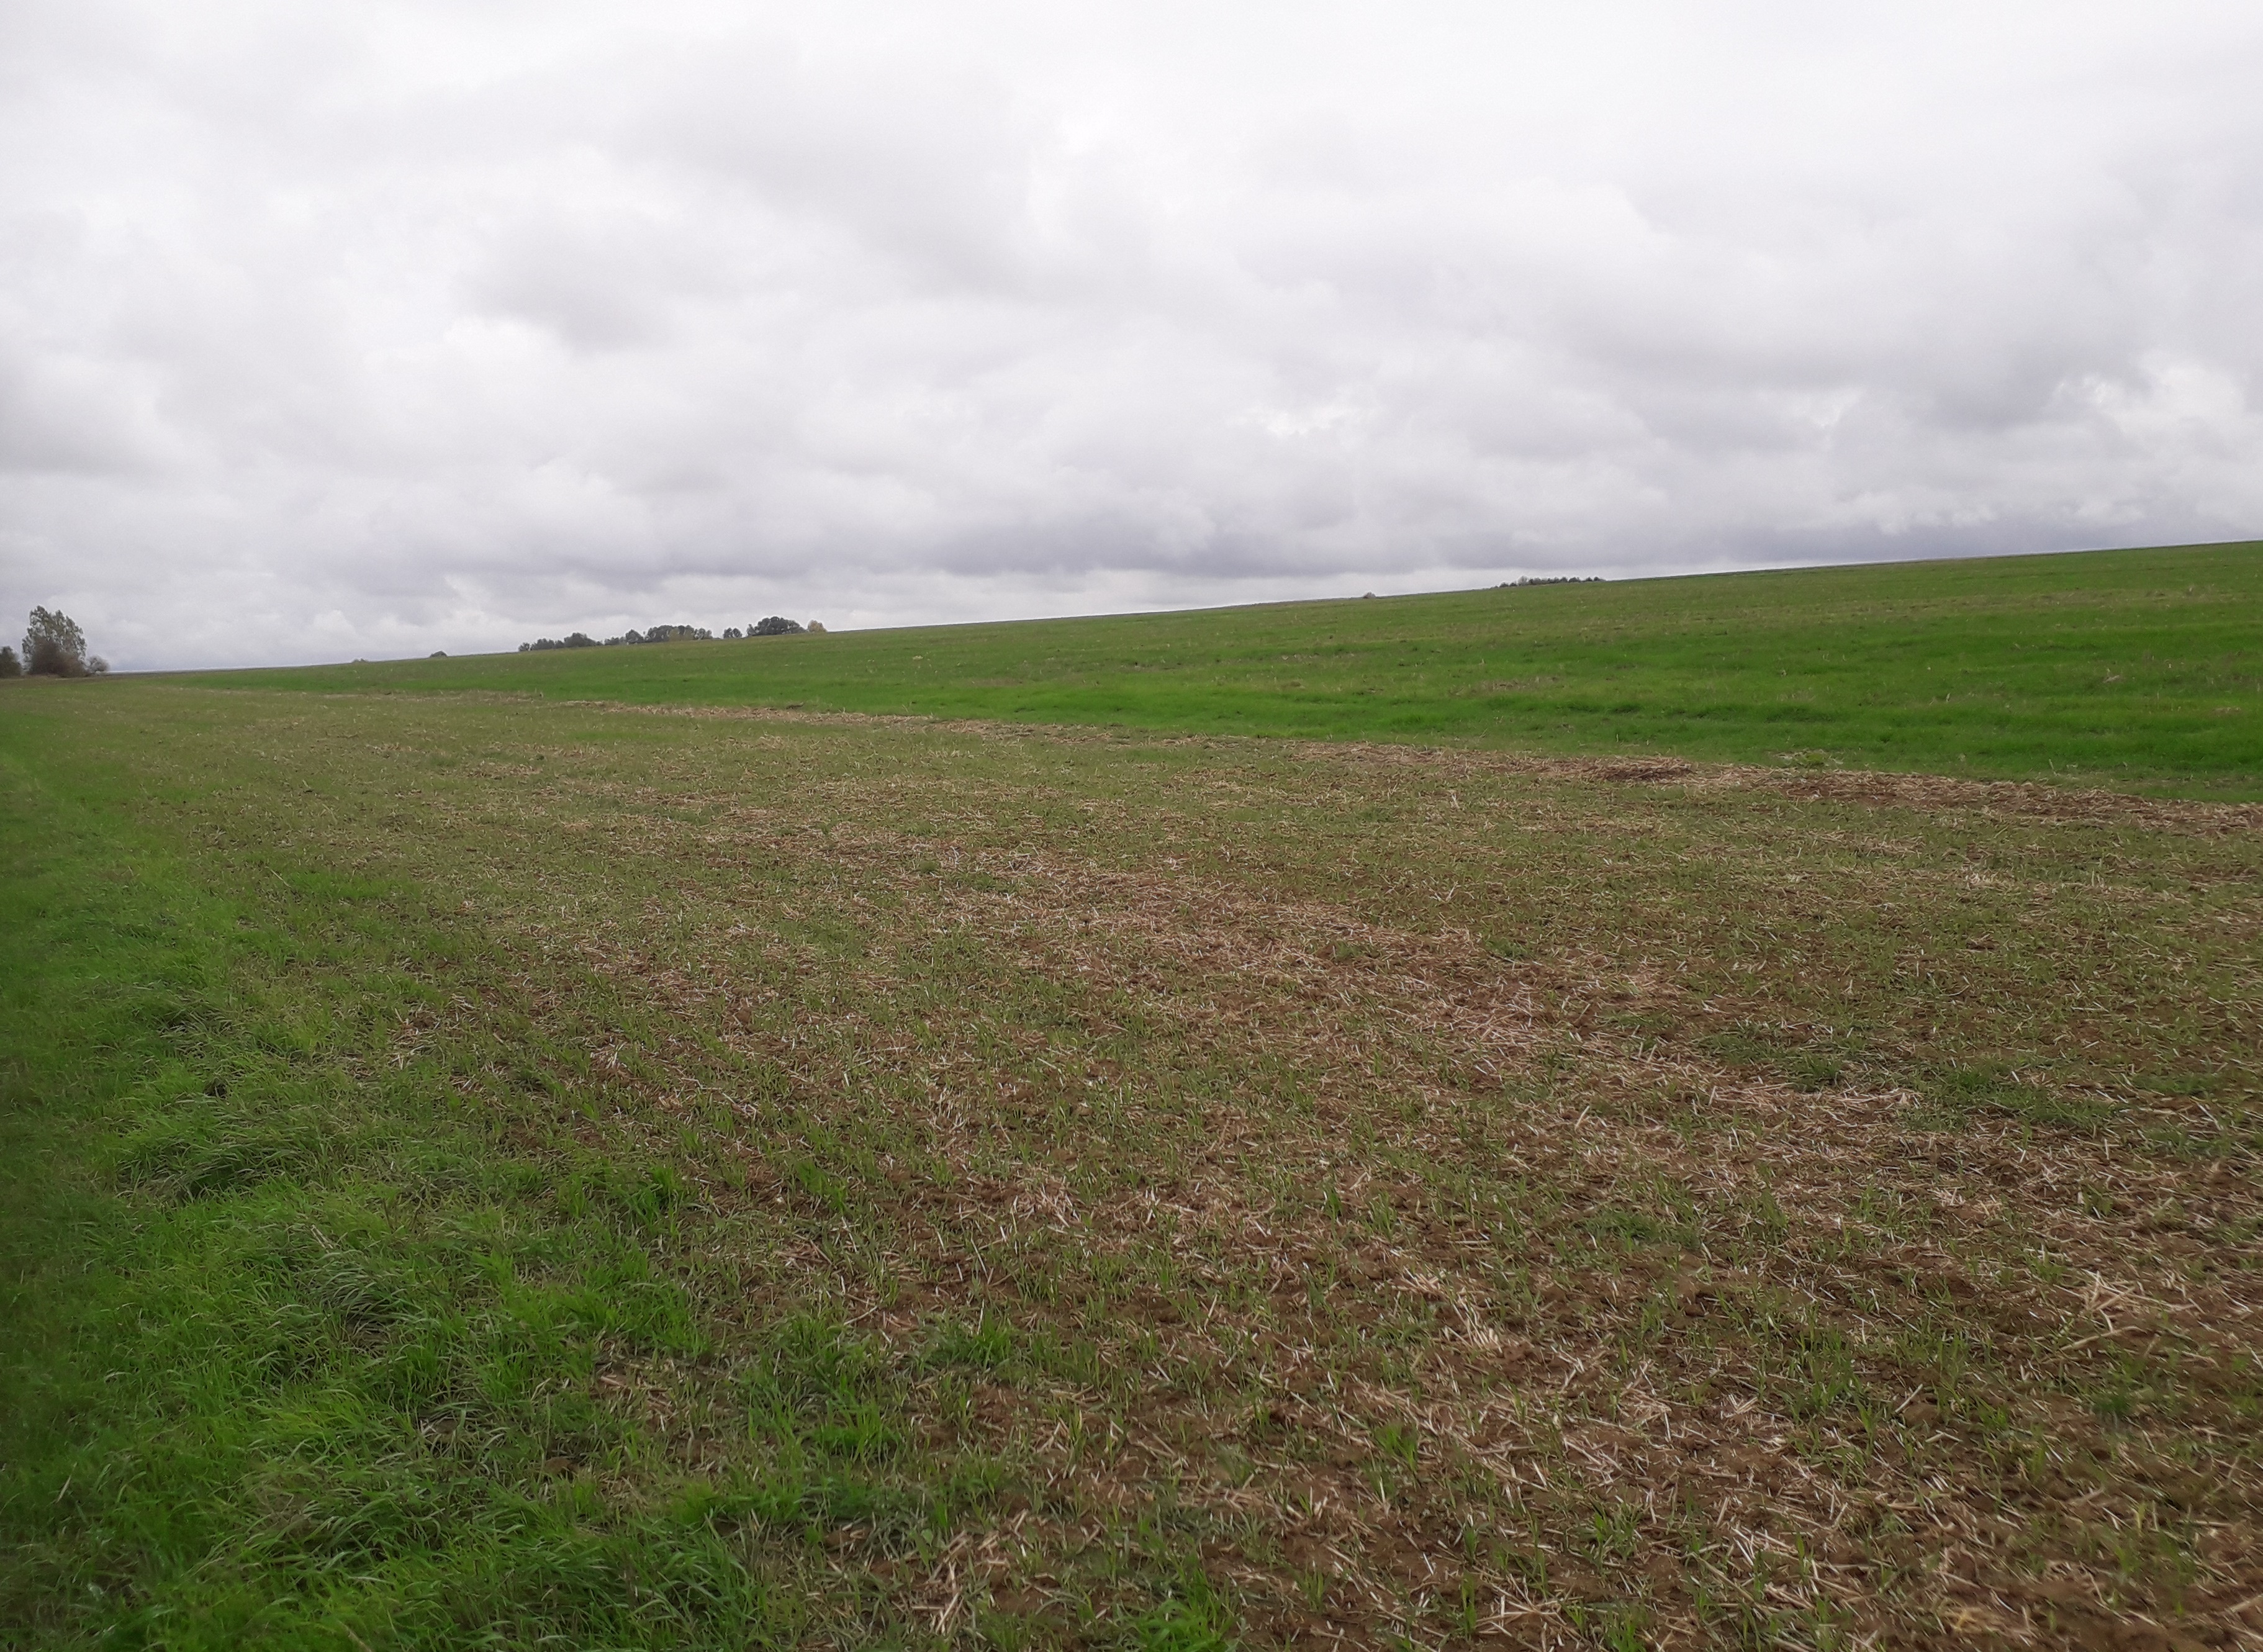
On the far side of the ridge identified in the previous photograph the road running left off the main Estrees to Geneve road towards the village of Beaurevoir seen in the distance. This road was the objective for ‘C’ Coy on the attack of the 4th October 1918 through which ‘D’ & ‘A’ Coy’s passed (from left to right) and carried the attack to the final objective.
Taken from the same location as the previous photograph but looking 45 degrees to the right, this shows the attack across the field by ‘D’ & ‘A’ Coy’s. The drainage ditch known as the Torrens Canal and which marked the Battalion boundary with the Manchester’s on their left is shown by the line of trees on the left on the far side of the field.

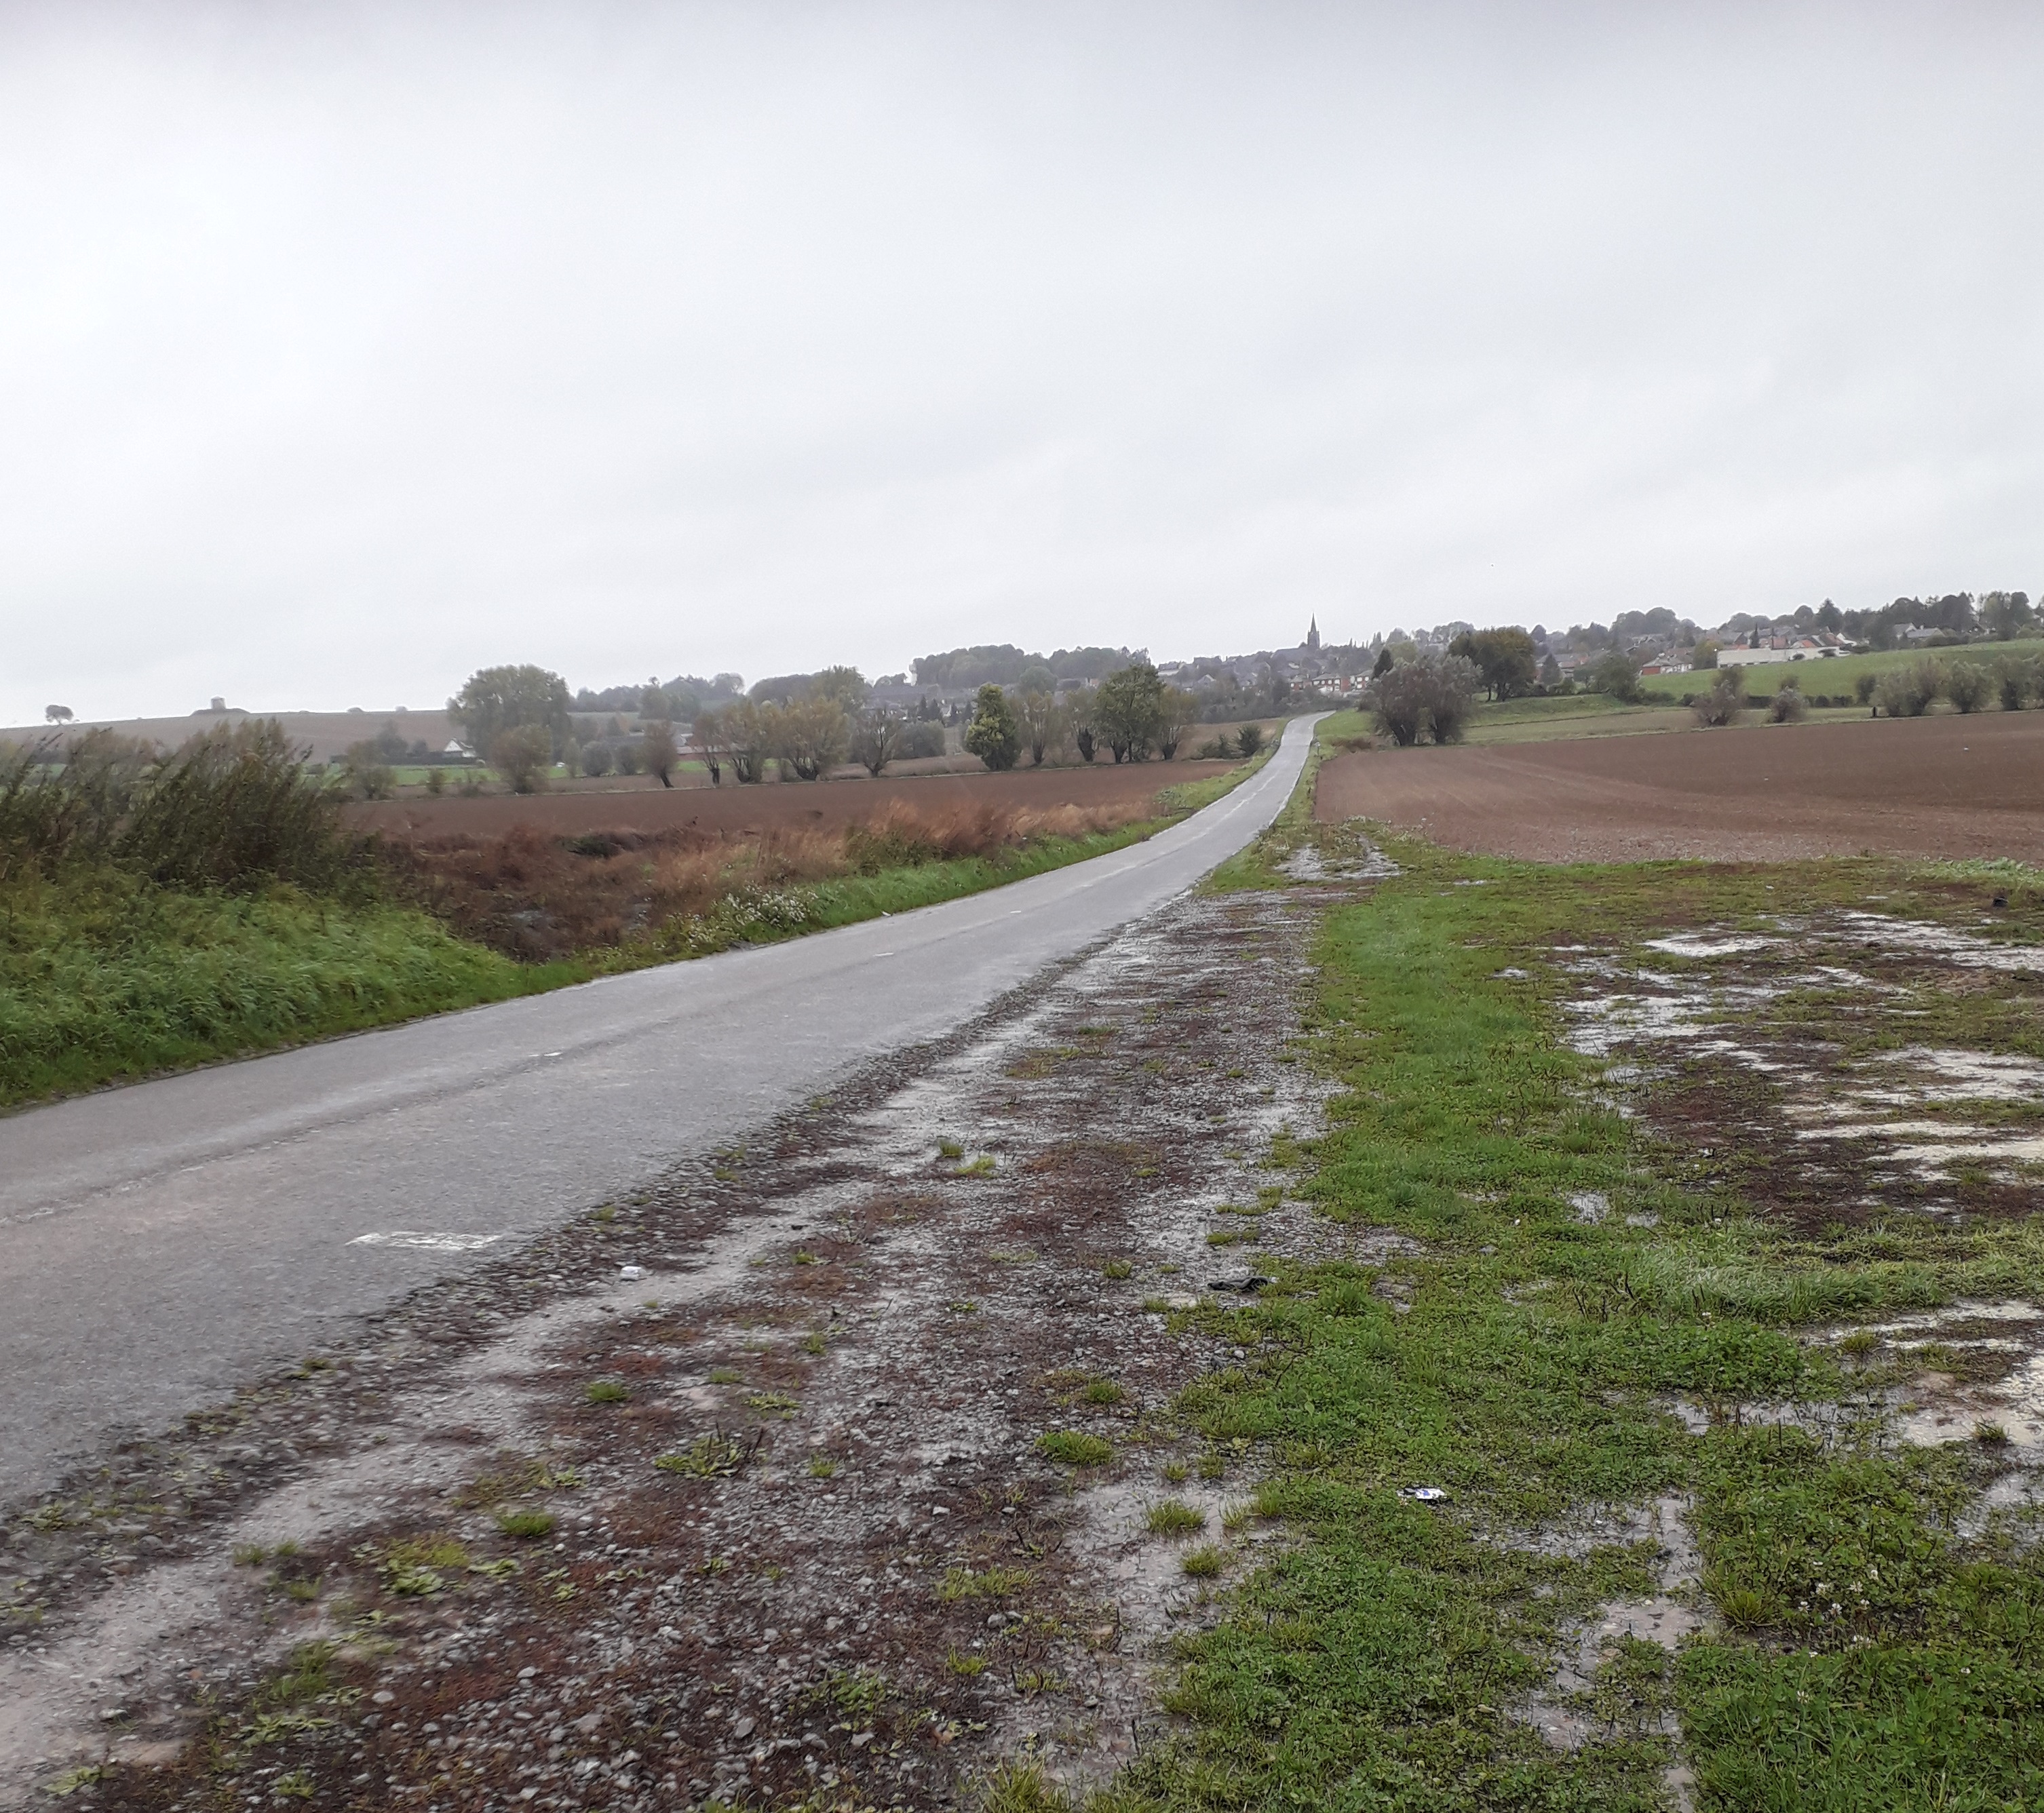
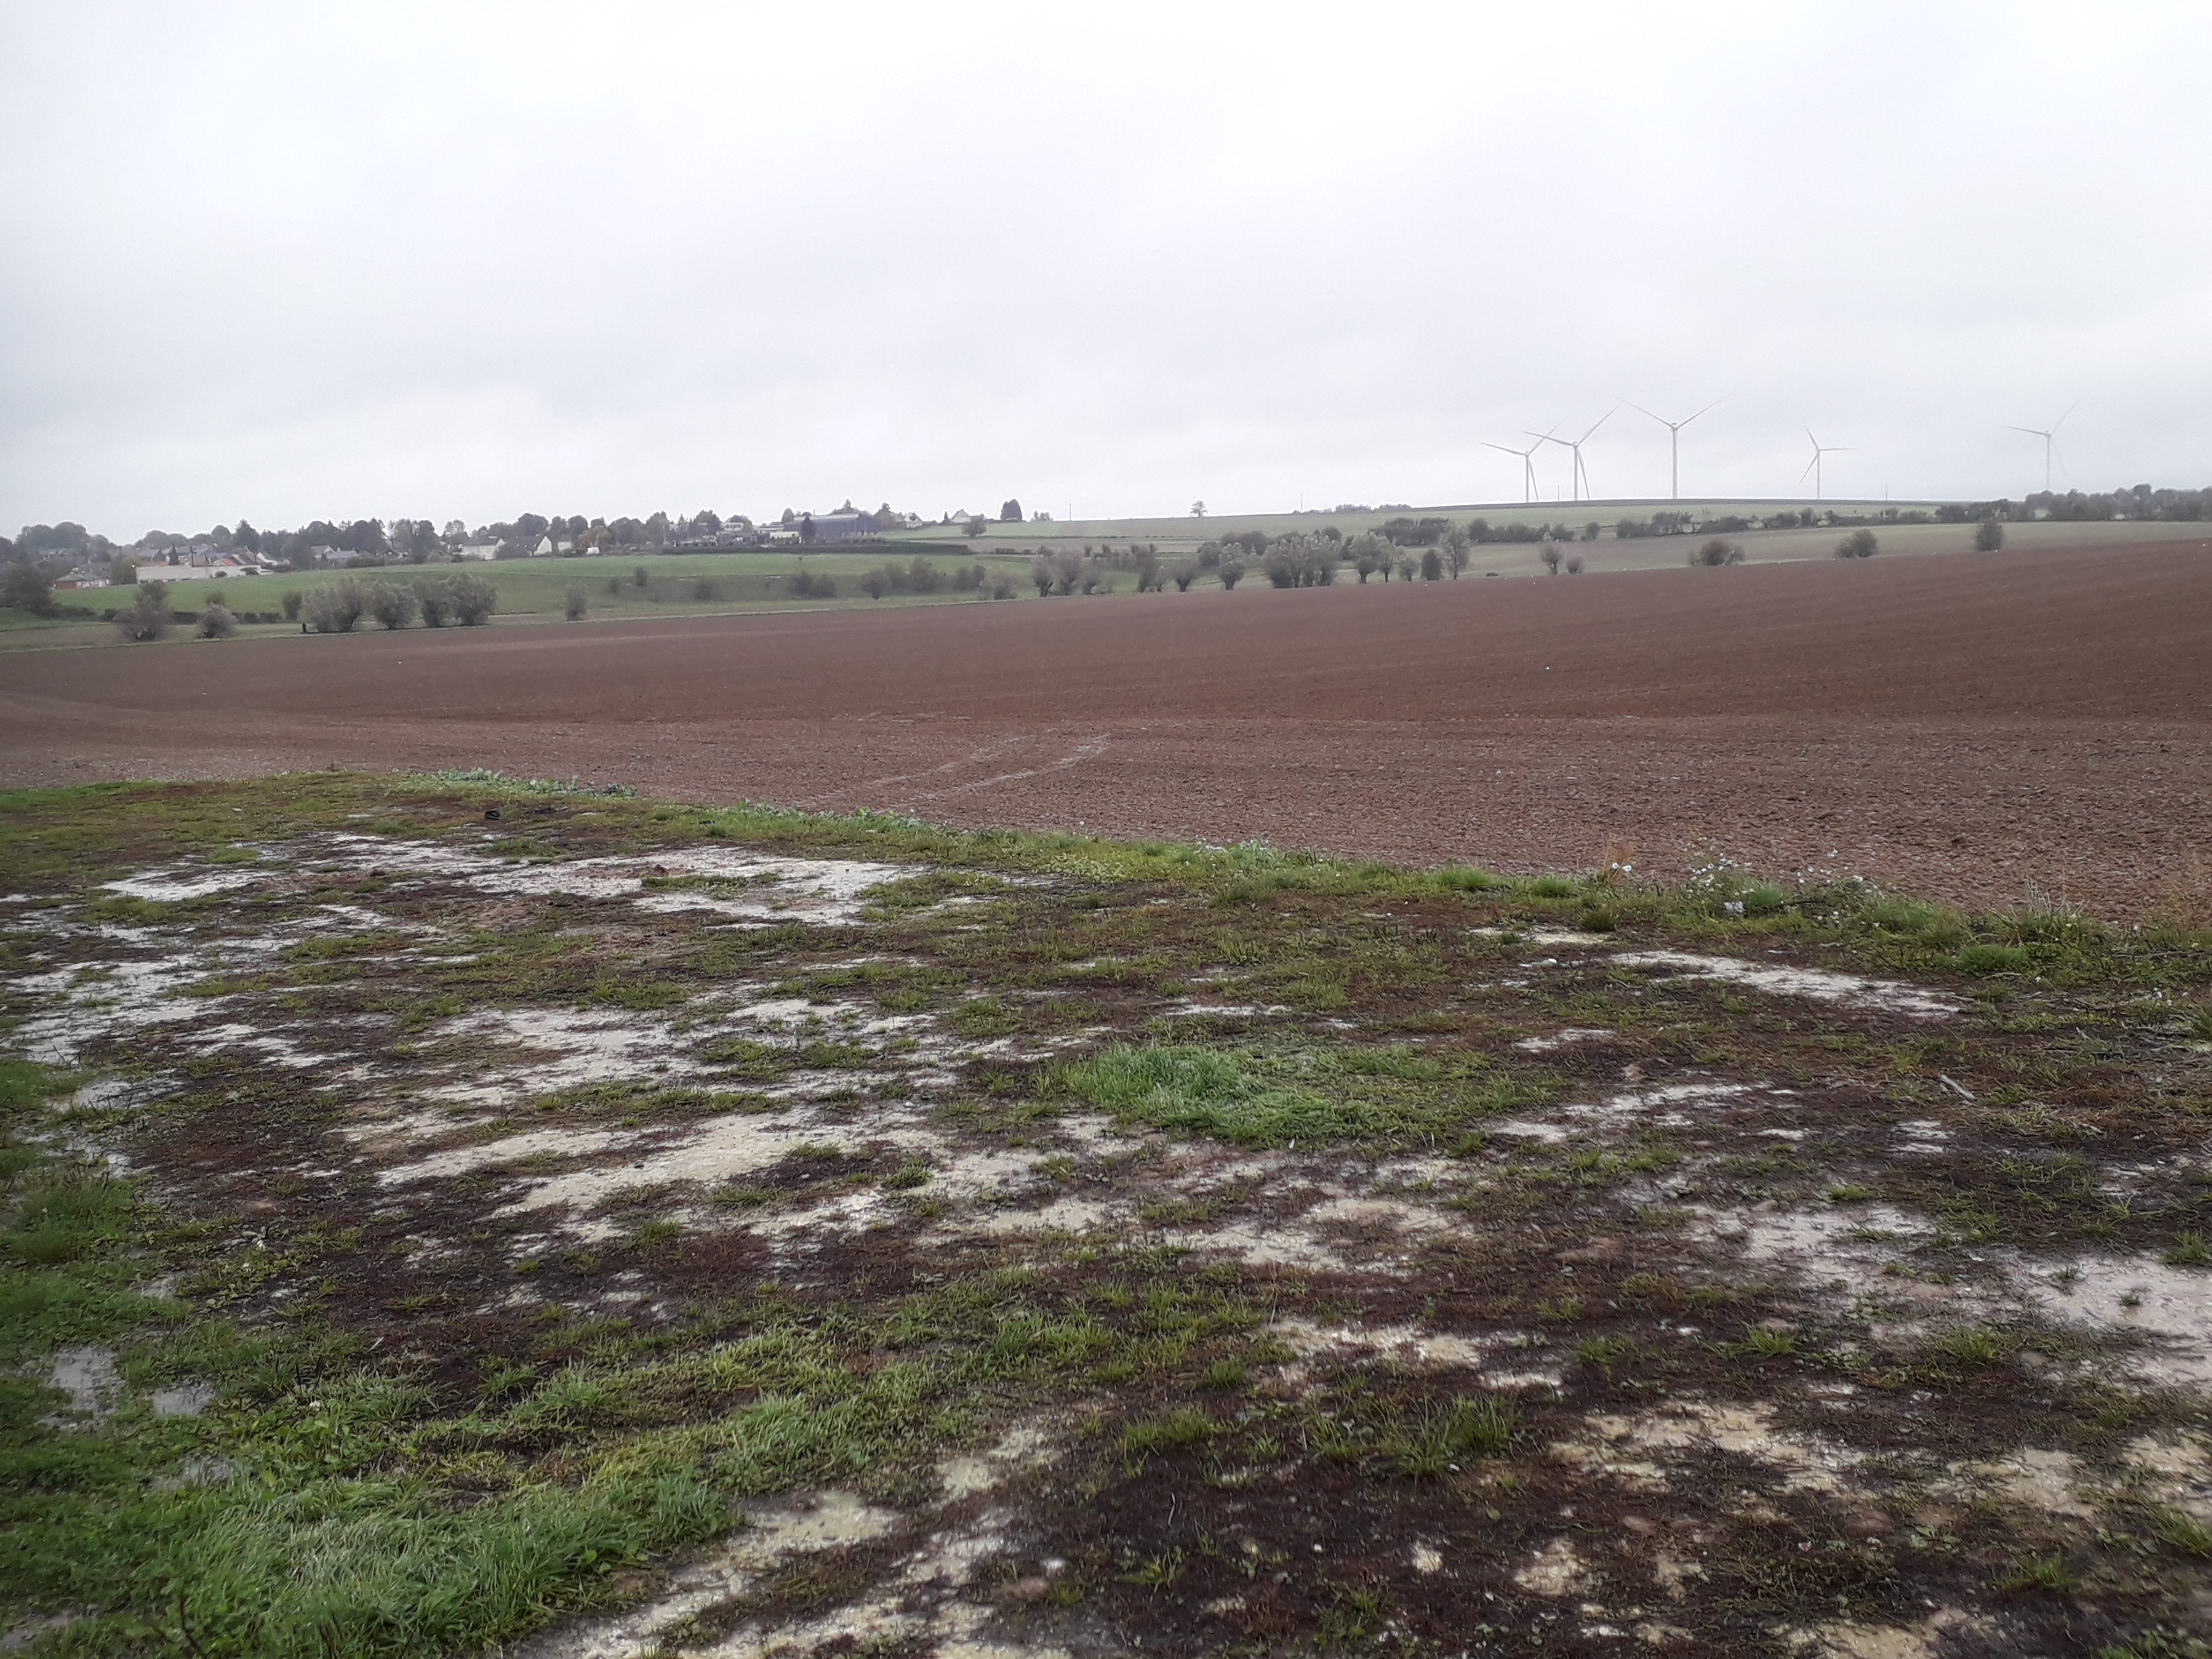
View of the same field but taken from the Estrees to Geneve road looking back towards Beaurevoir village and the Torrens Canal, and with the road to Montbrehain about 50m on the right. This location was subject to heavy shelling causing many casualties during this, the last action seen by the 22nd Battalion during the First World War.
Published as ‘news’ 100 years on to the day, follow the 22nd Battalion on the project website and via Facebook and Twitter
 FIRST WORLD WAR TIMELINE
1914 1915 1916 1917 1918 1919
